Build Your Own Stock Photo Library
(Photos by Rachel Wakefield)
This post is Day 16 in the 31 Days to a Super-Purposeful Schedule series.
Can I make a confession? The majority of the photos in this 31 Day Series were taken weeks and months in advance. Most of them weren't shot with these specific posts in mind at all.
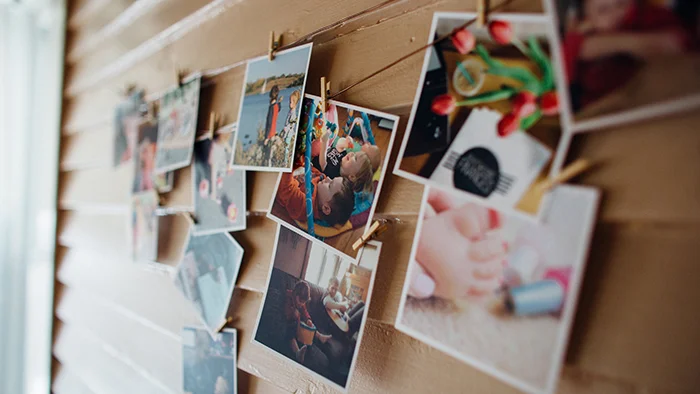
Just about every single image was a part of a photoshoot for something else and then saved in what I like to call my Stock Photo Library.
When I finished writing each post, I didn't spend the day styling, shooting, uploading and editing. I just quickly glanced through my library to find images that said what I wanted them to say, popped them into my template. That's it. So easy it almost makes me feel guilty.
The purpose of a library
If you have a blog or share thoughts on social media you probably want to be able to post often. But for a lot of us that extra step of photography can sometimes make the whole process overwhelming.
Another problem can arise if you use your accounts for business. In that case you also have the added pressure of trying to keep a branded, cohesive look. Every type of content you post has to convey a certain message about your business and add to your client's experience. Let's face it: Imagery is a key way to be memorable. There's a reason a picture is worth a thousand words. But adding a daily photo session to your already long list of to-dos probably isn't always ideal.
A library of high quality, branded images that you update on a weekly or monthly basis might be just what you need.
Build Your Own Library
Pick your brand words:
Choose 3 descriptive words that you want your audience to feel or experience the minute they see an image you post. Rustic, Urban, Grunge, Lovely, Natural, Sweet, Energetic, Refreshing, Bright, etc. (Need some help? Visit this post.)
Go on a hunt:
Sort through images you've taken or stock photos you've saved and find images that make YOU feel or experience these words. Don't have any images yet? Go on a photo safari or check the hashtag in Instagram for ideas of what others visualize with those words. Then recreate your own scene with a personal flair. Not good with the camera? Hire a talented photographer to do a few photoshoots and help capture your brand words.
Create categories:
Now that you have all of your ideas saved, create categories to keep them organized. I'm old school and use boring file folders for these type of photos. You can create a heirarchy like this: Home > Office > Office Supplies > Planners & Notebooks. You can also make them specific to your business or blog. So if you're a food blogger, categorize them as Drinks, Desserts, Plates & Utensils, etc. and then continue to build on them.
Take a LOT of photos:
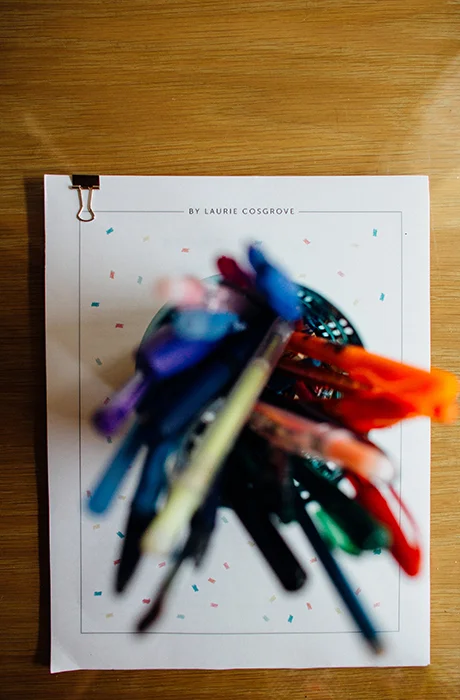
It's not a shelf. It's a LIBRARY. So fill it up! Example: If you need a photo of a pen, don't just take one photo of the pen and move on. Take 20 photos. Shoot it top-down, overhead view. Shoot it from the side. Vertical and horizontal layouts. Place it on a stack of notebooks, or add it to a fun holder. Go pen crazy. Do this every single time you take photos, especially if it's with your DSLR. Never delete an extra image unless it's bad quality. Save it to the library and then you can easily grab it for the next time you post about a topic that relates to this image.
Even if you shop around for stock photos or subscribe to lists for free images, this can still work. Simply find the best images that have the "mood" you're going for and communicate the message you want to convey. If you see all of the images all together in one place, it really helps to spot the ones that don't fit your brand before you decide to feature them.
Today's action step:
Set up your own photo library with your brand words in mind. Create a list of all the types of things that you could feature and then spend one day this month capturing them. Use the space in your workbook to put together an easy-to-use workflow. (*Note: if you're already subscribed and are having trouble accessing this page, email me for a refresher on the password. xo)


